How to install django CMS by hand
The easiest way to install django CMS is by using the automated django CMS installer. This is the recommended way to start with new projects, and it’s what we use in the tutorial section of this documentation.
If you prefer to do things manually, this how-to guide will take you through the process.
Note
You can also use this guide to help you install django CMS as part of an existing project. However, the guide assumes that you are starting with a blank project, so you will need to adapt the steps below appropriately as required.
This document assumes you have some basic familiarity with Python and Django. After you’ve integrated django CMS into your project, you should be able to follow the Tutorials for an introduction to developing with django CMS.
Install the django CMS package
Check the Python/Django requirements for this version of django CMS.
django CMS also has other requirements, which it lists as dependencies in its setup.py.
Important
We strongly recommend doing all of the following steps in a virtual environment. You ought to know how to create, activate and dispose of virtual environments using virtualenv. If you don’t, you can use the steps below to get started, but you are advised to take a few minutes to learn the basics of using virtualenv before proceeding further.
virtualenv django-cms-site  # create a virtualenv
source django-cms-site/bin/activate  # activate it
In an activated virtualenv, run:
pip install --upgrade pip
to make sure pip is up-to-date, as earlier versions can be less reliable.
Then:
pip install django-cms
to install the latest stable version of django CMS.
Create a new project
Create a new project:
django-admin.py startproject myproject
If this is new to you, you ought to read the official Django tutorial, which covers starting a new project.
Your new project will look like this:
myproject
    myproject
        __init__.py
        settings.py
        urls.py
        wsgi.py
    manage.py
Minimally-required applications and settings
Open the new project’s settings.py file in your text editor.
INSTALLED_APPS
You will need to add the following to its list of INSTALLED_APPS:
'django.contrib.sites',
'cms',
'menus',
'treebeard',
- django CMS needs to use Django’s
django.contrib.sitesframework. You’ll need to set aSITE_IDin the settings -SITE_ID = 1will suffice. cmsandmenusare the core django CMS modules.- django-treebeard is used to manage django CMS’s page and plugin tree structures.
django CMS installs django CMS admin style. This provides some styling that helps make django CMS administration components easier to work with. Technically it’s an optional component and does not need to be enabled in your project, but it’s strongly recommended.
In the INSTALLED_APPS, before django.contrib.admin, add:
'djangocms_admin_style',
Language settings
django CMS requires you to set the LANGUAGES setting. This should list all the languages you want
your project to serve, and must include the language in LANGUAGE_CODE.
For example:
LANGUAGES = [
    ('en', 'English'),
    ('de', 'German'),
]
(For simplicity’s sake, at this stage it is worth changing the default en-us in that you’ll find in the
LANGUAGE_CODE setting to en.)
Database
django CMS requires a relational database backend. Each django CMS installation should have its own database.
You can use SQLite, which is included in Python and doesn’t need to be installed separately or configured further. You
are unlikely to be using that for a project in production, but it’s ideal for development and exploration, especially
as it is configured by default in a new Django project’s DATABASES.
Note
For deployment, you’ll need to use a production-ready database with Django. We recommend using PostgreSQL or MySQL.
Installing and maintaining database systems is far beyond the scope of this documentation, but is very well documented on the systems’ respective websites.
Whichever database you use, it will also require the appropriate Python adaptor to be installed:
pip install psycopg2     # for Postgres
pip install mysqlclient  # for MySQL
Refer to Django's DATABASES setting documentation for the appropriate configuration
for your chosen database backend.
Database tables
Now run migrations to create database tables for the new applications:
python manage.py migrate
Using cms check for configuration
Once you have completed the minimum required set-up described above, you can use django CMS’s built-in cms check command to help you identify and install other components. Run:
python manage.py cms check
This will check your configuration, your applications and your database, and report on any problems.
Note
If key components are be missing, django CMS will be unable to run the cms check command and will simply raise
an error instead.
After each of the steps below run cms check to verify that you have resolved that item in its checklist.
Sekizai
Django Sekizai is required by the CMS for static files management. You need to have:
'sekizai'
listed in INSTALLED_APPS, and:
'sekizai.context_processors.sekizai'
in the TEMPLATES['OPTIONS']['context_processors']:
TEMPLATES = [
    {
        ...
        'OPTIONS': {
            'context_processors': [
                ...
                'sekizai.context_processors.sekizai',
            ],
        },
    },
]
Middleware
in your MIDDLEWARE_CLASSES you’ll need django.middleware.locale.LocaleMiddleware -
it’s not installed in Django projects by default.
Also add:
'cms.middleware.user.CurrentUserMiddleware',
'cms.middleware.page.CurrentPageMiddleware',
'cms.middleware.toolbar.ToolbarMiddleware',
'cms.middleware.language.LanguageCookieMiddleware',
to the list.
You can also add 'cms.middleware.utils.ApphookReloadMiddleware'. It’s not absolutely necessary, but it’s
useful. If included, should be at the start of the list.
Context processors
Add 'cms.context_processors.cms_settings' to TEMPLATES['OPTIONS']['context_processors'].
cms check should now be unable to identify any further issues with your project. Some additional configuration is
required however.
Further required configuration
URLs
In the project’s urls.py, add url(r'^', include('cms.urls')) to the urlpatterns list. It should come after
other patterns, so that specific URLs for other applications can be detected first.
You’ll also need to have an import for django.conf.urls.include. For example:
from django.conf.urls import url, include

urlpatterns = [
    url(r'^admin/', admin.site.urls),
    url(r'^', include('cms.urls')),
]
The django CMS project will now run, as you’ll see if you launch it with python manage.py runserver. You’ll be able
to reach it at http://localhost:8000/, and the admin at http://localhost:8000/admin/. You won’t yet actually be able to
do anything very useful with it though.
Templates
django CMS requires at least one template for its pages. The first template in the CMS_TEMPLATES list will
be the project’s default template.
CMS_TEMPLATES = [
    ('home.html', 'Home page template'),
]
In the root of the project, create a templates directory, and in that, home.html, a minimal django CMS
template:
{% load cms_tags sekizai_tags %}
<html>
    <head>
        <title>{% page_attribute "page_title" %}</title>
        {% render_block "css" %}
    </head>
    <body>
        {% cms_toolbar %}
        {% placeholder "content" %}
        {% render_block "js" %}
    </body>
</html>
This is worth explaining in a little detail:
{% load cms_tags sekizai_tags %}loads the template tag libraries we use in the template.{% page_attribute "page_title" %}extracts the page’spage_titleattribute.{% render_block "css" %}and{% render_block "js" %}are Sekizai template tags that load blocks of HTML defined by Django applications. django CMS defines blocks for CSS and JavaScript, and requires these two tags. We recommended placing{% render_block "css" %}just before the</head>tag, and and{% render_block "js" %}tag just before the</body>.{% cms_toolbar %}renders thedjango CMS toolbar.{% placeholder "content" %}defines aplaceholder, where plugins can be inserted. A template needs at least one{% placeholder %}template tag to be useful for django CMS. The name of the placeholder is simply a descriptive one, for your reference.
Django needs to be know where to look for its templates, so add templates to the TEMPLATES['DIRS'] list:
TEMPLATES = [
    {
        ...
        'DIRS': ['templates'],
        ...
    },
]
Note
The way we have set up the template here is just for illustration. In a real project, we’d recommend creating a
base.html template, shared by all the applications in the project, that your django CMS templates can extend.
See Django’s template language documentation for more on how template inheritance works.
Media and static file handling
A django CMS site will need to handle:
- static files, that are a core part of an application or project, such as its necessary images, CSS or JavaScript
- media files, that are uploaded by the site’s users or applications.
STATIC_URL is defined (as "/static/") in a new project’s settings by default.
STATIC_ROOT, the location that static files will be copied to and served from, is not required for
development - only for production.
For now, using the runserver and with DEBUG = True in your settings, you don’t need to worry about either of these.
However, MEDIA_URL (where media files will be served) and MEDIA_ROOT (where they
will be stored) need to be added to your settings:
MEDIA_URL = "/media/"
MEDIA_ROOT = os.path.join(BASE_DIR, "media")
For deployment, you need to configure suitable media file serving. For development purposes only, the following will
work in your urls.py:
from django.conf import settings
from django.conf.urls.static import static

urlpatterns = [
    ...
] + static(settings.MEDIA_URL, document_root=settings.MEDIA_ROOT)
(See the Django documentation for guidance on serving media files in production.)
Adding content-handling functionality
You now have the basics set up for a django CMS site, which is able to manage and serve up pages. However the project so far has no plugins installed, which means it has no way of handling content in those pages. All content in django CMS is managed via plugins. So, we now need to install some additional addon applications to provide plugins and other functionality.
You don’t actually need to install any of these. django CMS doesn’t commit you to any particular applications for content handling. The ones listed here however provide key functionality and are strongly recommended.
Django Filer
Django Filer provides file and image management. Many other applications also rely on Django Filer - it’s very unusual to have a django CMS site that does not run Django Filer. The configuration in this section will get you started, but you should refer to the Django Filer documentation for more comprehensive configuration information.
To install:
pip install django-filer
A number of applications will be installed as dependencies. Easy Thumbnails is required to create new versions of images in different sizes; Django MPTT manages the tree structure of the folders in Django Filer.
Pillow, the Python imaging library, will be installed. Pillow needs some system-level libraries - the Pillow documentation describes in detail what is required to get this running on various operating systems.
Add:
'filer',
'easy_thumbnails',
'mptt',
to INSTALLED_APPS.
You also need to add:
THUMBNAIL_HIGH_RESOLUTION = True

THUMBNAIL_PROCESSORS = (
    'easy_thumbnails.processors.colorspace',
    'easy_thumbnails.processors.autocrop',
    'filer.thumbnail_processors.scale_and_crop_with_subject_location',
    'easy_thumbnails.processors.filters'
)
New database tables will need to be created for Django Filer and Easy Thumbnails, so run migrations:
python manage.py migrate filer
python manage.py migrate easy_thumbnails
(or simply, python manage.py migrate).
Django CMS CKEditor
Django CMS CKEditor is the default text editor for django CMS.
Install: pip install djangocms-text-ckeditor.
Add djangocms_text_ckeditor to your INSTALLED_APPS.
Run migrations:
python manage.py migrate djangocms_text_ckeditor
Miscellaneous plugins
There are plugins for django CMS that cover a vast range of functionality. To get started, it’s useful to be able to rely on a set of well-maintained plugins that cover some general content management needs.
- djangocms-link
- djangocms-file
- djangocms-picture
- djangocms-video
- djangocms-googlemap
- djangocms-snippet
- djangocms-style
- djangocms-column
To install:
pip install djangocms-link djangocms-file djangocms-picture djangocms-video djangocms-googlemap djangocms-snippet djangocms-style djangocms-column
and add:
'djangocms_link',
'djangocms_file',
'djangocms_picture',
'djangocms_video',
'djangocms_googlemap',
'djangocms_snippet',
'djangocms_style',
'djangocms_column',
to INSTALLED_APPS.
Then run migrations:
python manage.py migrate.
These and other plugins are described in more detail in Some commonly-used plugins. More are listed plugins available on the django CMS Marketplace.
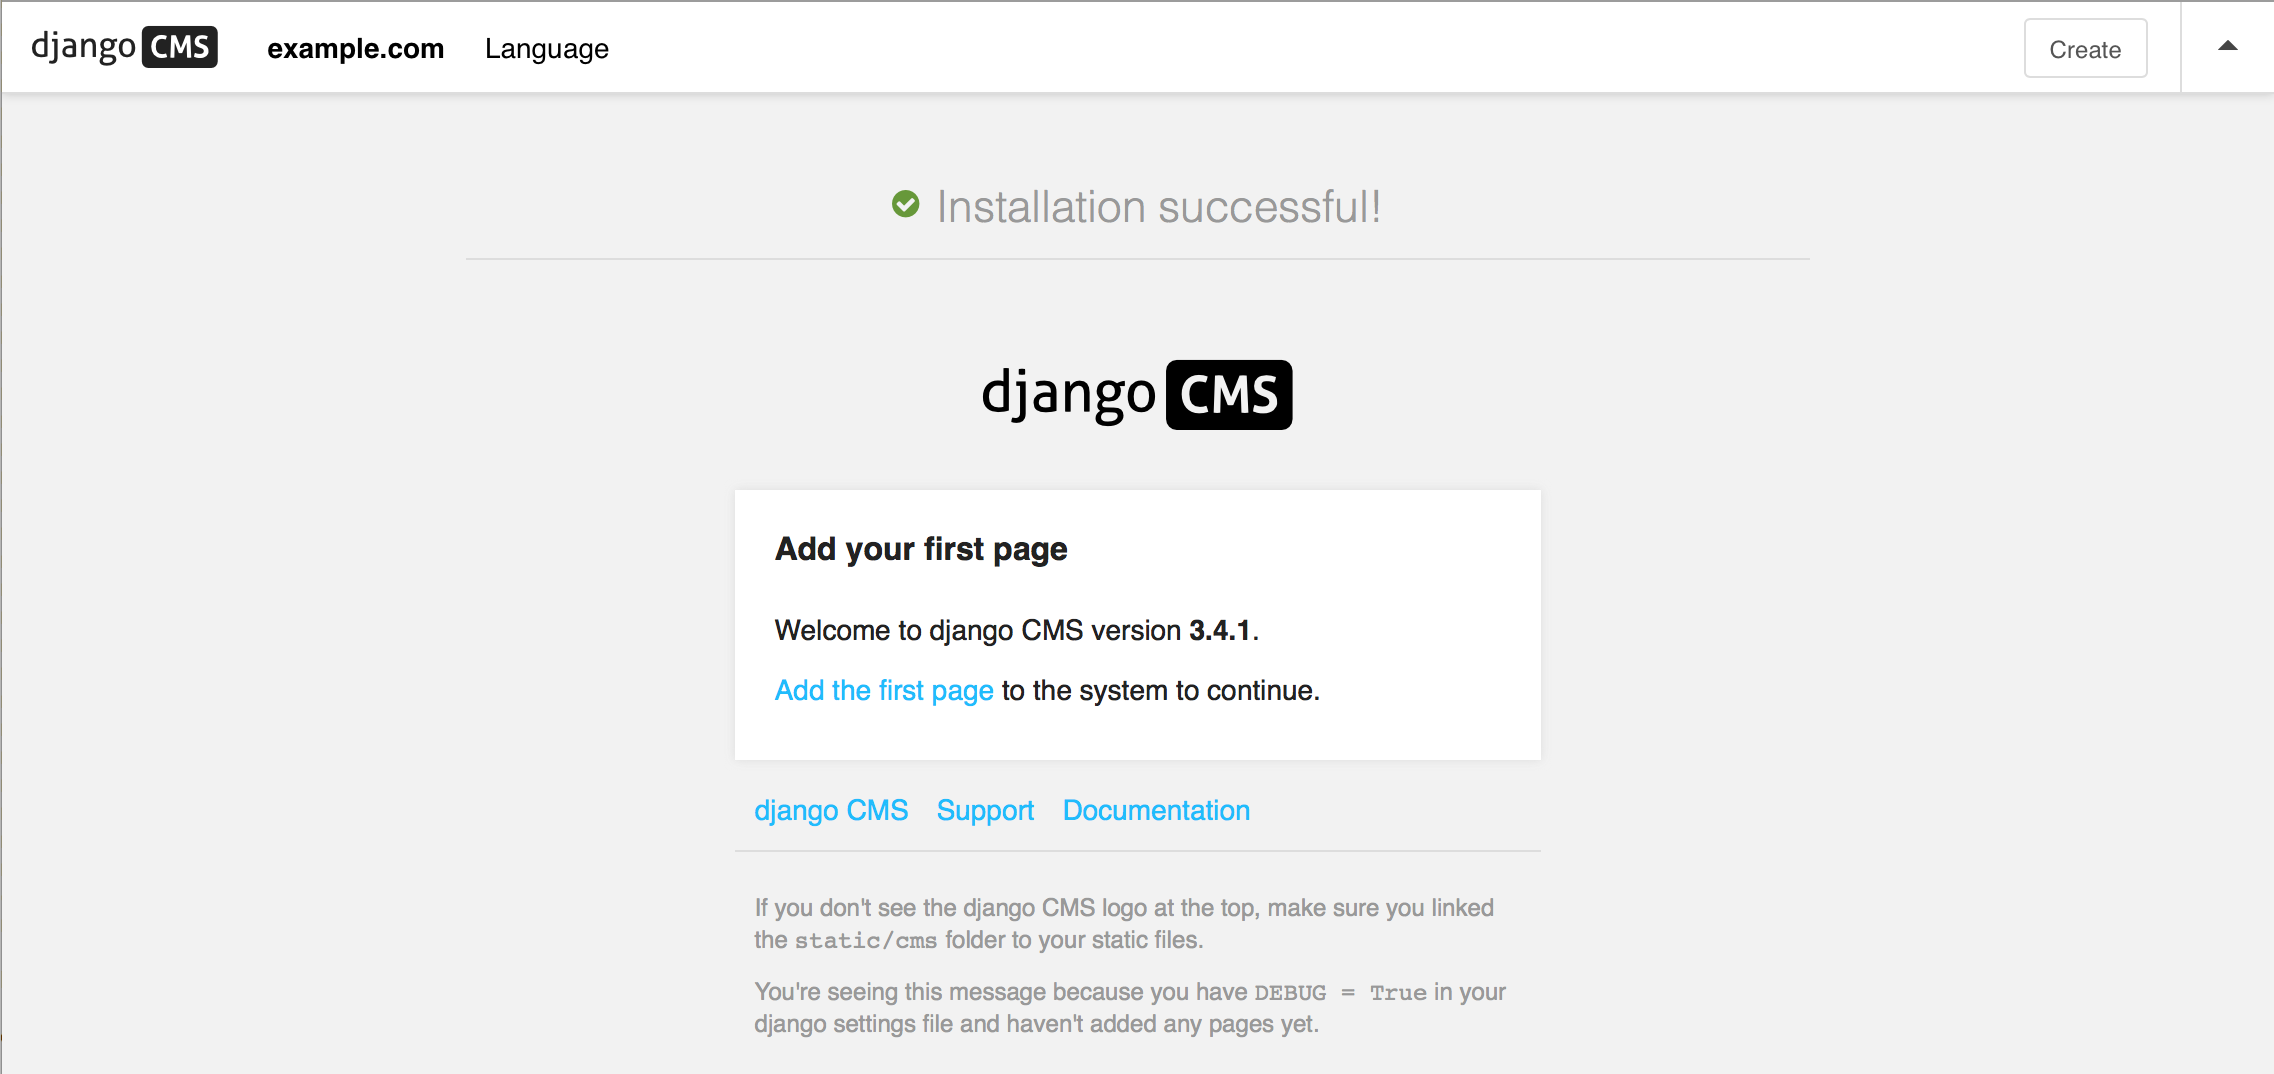
Launch the project
Start up the runserver:
python manage.py runserver
and access the new site, which you should now be able to reach at http://localhost:8000. Login if you haven’t
done so already.
Next steps
If this is your first django CMS project, read through the Tutorial for a walk-through of some basics.
The tutorials for developers will help you understand how to approach django CMS as a developer. Note that the tutorials assume you have installed the CMS using the django CMS Installer, but with a little adaptation you’ll be able to use it as a basis.
To deploy your django CMS project on a production web server, please refer to the Django deployment documentation.