Plugins
In this tutorial we’re going to take a basic Django opinion poll application and integrate it into the CMS.
Install the polls application
Install the application from its GitHub repository using pip -e - this also places it in your virtualenv’s src directory as a cloned Git repository:
pip install -e git+http://git@github.com/divio/django-polls.git#egg=polls
You should end up with a folder structure similar to this:
env/
    src/
        polls/
            polls/
                __init__.py
                admin.py
                models.py
                templates/
                tests.py
                urls.py
                views.py
Let’s add it this application to our project. Add 'polls' to the end of INSTALLED_APPS in
your project’s settings.py (see the note on The INSTALLED_APPS setting about ordering ).
Add the following line to urlpatterns in the project’s urls.py:
url(r'^polls/', include('polls.urls', namespace='polls')),
Make sure this line is included before the line for the django-cms urls:
url(r'^', include('cms.urls')),
django CMS’s URL pattern needs to be last, because it “swallows up” anything that hasn’t already been matched by a previous pattern.
Now run the application’s migrations:
python manage.py migrate polls
At this point you should be able to log in to the Django
admin - localhost:8000/admin/ - and find the Polls application.

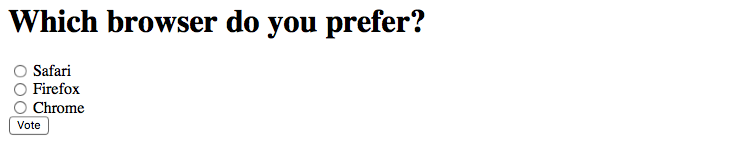
Create a new Poll, for example:
Question: Which browser do you prefer?
Choices:
- Safari
- Firefox
- Chrome
Now if you visit http://localhost:8000/en/polls/, you should be able to see the published poll
and submit a response.
Set up a base template for the application
However, in pages of the Polls application we only have minimal templates, and no navigation or styling.
Let’s improve this by overriding the polls application’s base template.
In mysite/templates, add polls/base.html, containing:
{% extends 'base.html' %}

{% block content %}
    {% block polls_content %}
    {% endblock %}
{% endblock %}
Refresh the /polls/ page again, which should now be properly integrated into the site.
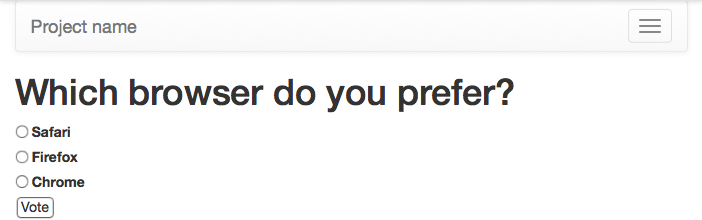
So now we have integrated the standard polls application into our project.
Create a new polls_cms_integration application
So far, however, the polls application has been integrated into the project, but not into django CMS itself.
If you’re already familiar with the CMS for a little, you’ll have encountered django CMS Plugins - the objects you can place into placeholders on your pages: “Text”, “Image” and so forth.
We’re now going to extend the Django poll application so we can embed a poll easily into any CMS page. We’ll put this integration code in a separate package, a Polls/CMS Integration application in our project.
Note
Why not build the plugin code into the polls application package?
This would certainly be possible, and in fact, if you were developing your own application it’s what we would recommend. For a third-party application such as Polls however, placing the plugin code into a separate package means we don’t have to modify or fork the original.
Create a new package at the project root called polls_cms_integration:
python manage.py startapp polls_cms_integration
So our workspace looks like this:
env/
    src/  # the django polls application is in here
polls_cms_integration/  # the newly-created application
    __init__.py
    admin.py
    models.py
    migrations.py
    tests.py
    views.py
mysite/
static/
project.db
requirements.txt
The Plugin Model
In your poll application’s models.py add the following:
from django.db import models
from cms.models import CMSPlugin
from polls.models import Poll


class PollPluginModel(CMSPlugin):
    poll = models.ForeignKey(Poll)

    def __unicode__(self):
        return self.poll.question
Note
django CMS plugins inherit from cms.models.pluginmodel.CMSPlugin (or a
sub-class thereof) and not models.Model.
PollPluginModel might seem an odd choice for a model name (that is, with model in the
name) but it helps distinguish it from the next class, PollPluginPublisher, that we need to
create.
The Plugin Class
Now create a new file cms_plugins.py in the same folder your models.py is in.
The plugin class is responsible for providing django CMS with the necessary
information to render your plugin.
For our poll plugin, we’re going to write the following plugin class:
from cms.plugin_base import CMSPluginBase
from cms.plugin_pool import plugin_pool
from polls_cms_integration.models import PollPluginModel
from django.utils.translation import ugettext as _


@plugin_pool.register_plugin  # register the plugin
class PollPluginPublisher(CMSPluginBase):
    model = PollPluginModel  # model where plugin data are saved
    module = _("Polls")
    name = _("Poll Plugin")  # name of the plugin in the interface
    render_template = "polls_cms_integration/poll_plugin.html"

    def render(self, context, instance, placeholder):
        context.update({'instance': instance})
        return context
Note
All plugin classes must inherit from cms.plugin_base.CMSPluginBase
and must register themselves with the plugin_pool.
A reasonable convention for plugin naming is:
PollPluginModel: the model classPollPluginPublisher: the plugin class
You don’t need to follow this convention, but choose one that makes sense and stick to it.
The template
The render_template attribute in the plugin class is required, and tells the plugin which
render_template to use when rendering.
In this case the template needs to be at polls_cms_integration/templates/polls_cms_integration/poll_plugin.html and should look something like this:
<h1>{{ instance.poll.question }}</h1>

<form action="{% url 'polls:vote' instance.poll.id %}" method="post">
    {% csrf_token %}
    <div class="form-group">
        {% for choice in instance.poll.choice_set.all %}
            <div class="radio">
                <label>
                    <input type="radio" name="choice" value="{{ choice.id }}">
                    {{ choice.choice_text }}
                </label>
            </div>
        {% endfor %}
    </div>
    <input type="submit" value="Vote" />
</form>
Integrate the polls_cms_integration application
The final step is to integrate the polls_cms_integration application into the project.
Add polls_cms_integration to INSTALLED_APPS in settings.py and create a database
migration to add the plugin table:
python manage.py makemigrations polls_cms_integration
python manage.py migrate polls_cms_integration
Finally, start the runserver and visit http://localhost:8000/.
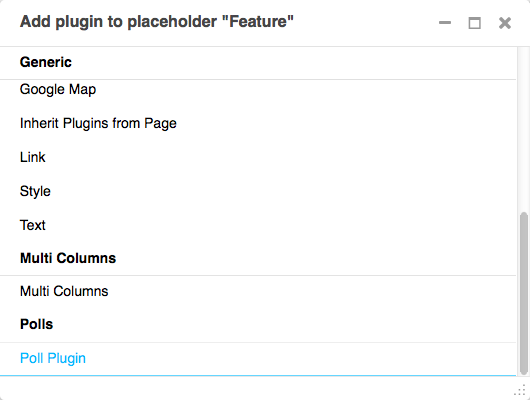
You can now drop the Poll Plugin into any placeholder on any page, just as
you would any other plugin.
Next we’ll integrate the Polls application more fully into our django CMS project.