Templates & Placeholders#
In this tutorial we’ll introduce Placeholders, and we’re also going to show how you can make your own HTML templates CMS-ready.
Templates#
You can use HTML templates to customise the look of your website, define Placeholders to mark sections for managed content and use special tags to generate menus and more.
You can define multiple templates, with different layouts or built-in components, and choose them for each page as required. A page’s template can be switched for another at any time.
You’ll find the site’s templates in django-cms-quickstart/backend/templates.
By default, pages in your site will use the fullwidth.html template, the first one listed in
the project’s settings.py CMS_TEMPLATES tuple:
CMS_TEMPLATES = [
    # a minimal template to get started with
    ('minimal.html', 'Minimal template'),

    # optional templates that extend base.html, to be used with Bootstrap 5
    ('bootstrap5.html', 'Bootstrap 5 Demo'),

    ('whitenoise-static-files-demo.html', 'Static File Demo'),
]
Placeholders#
Placeholders are an easy way to define sections in an HTML template that will be filled with content from the database when the page is rendered. This content is edited using django CMS’s frontend editing mechanism, using Django template tags.
fullwidth.html contains a single placeholder, {% placeholder "content" %}.
You’ll also see {% load cms_tags %} in that file - cms_tags is the
required template tag library.
If you’re not already familiar with Django template tags, you can find out more in the Django documentation.
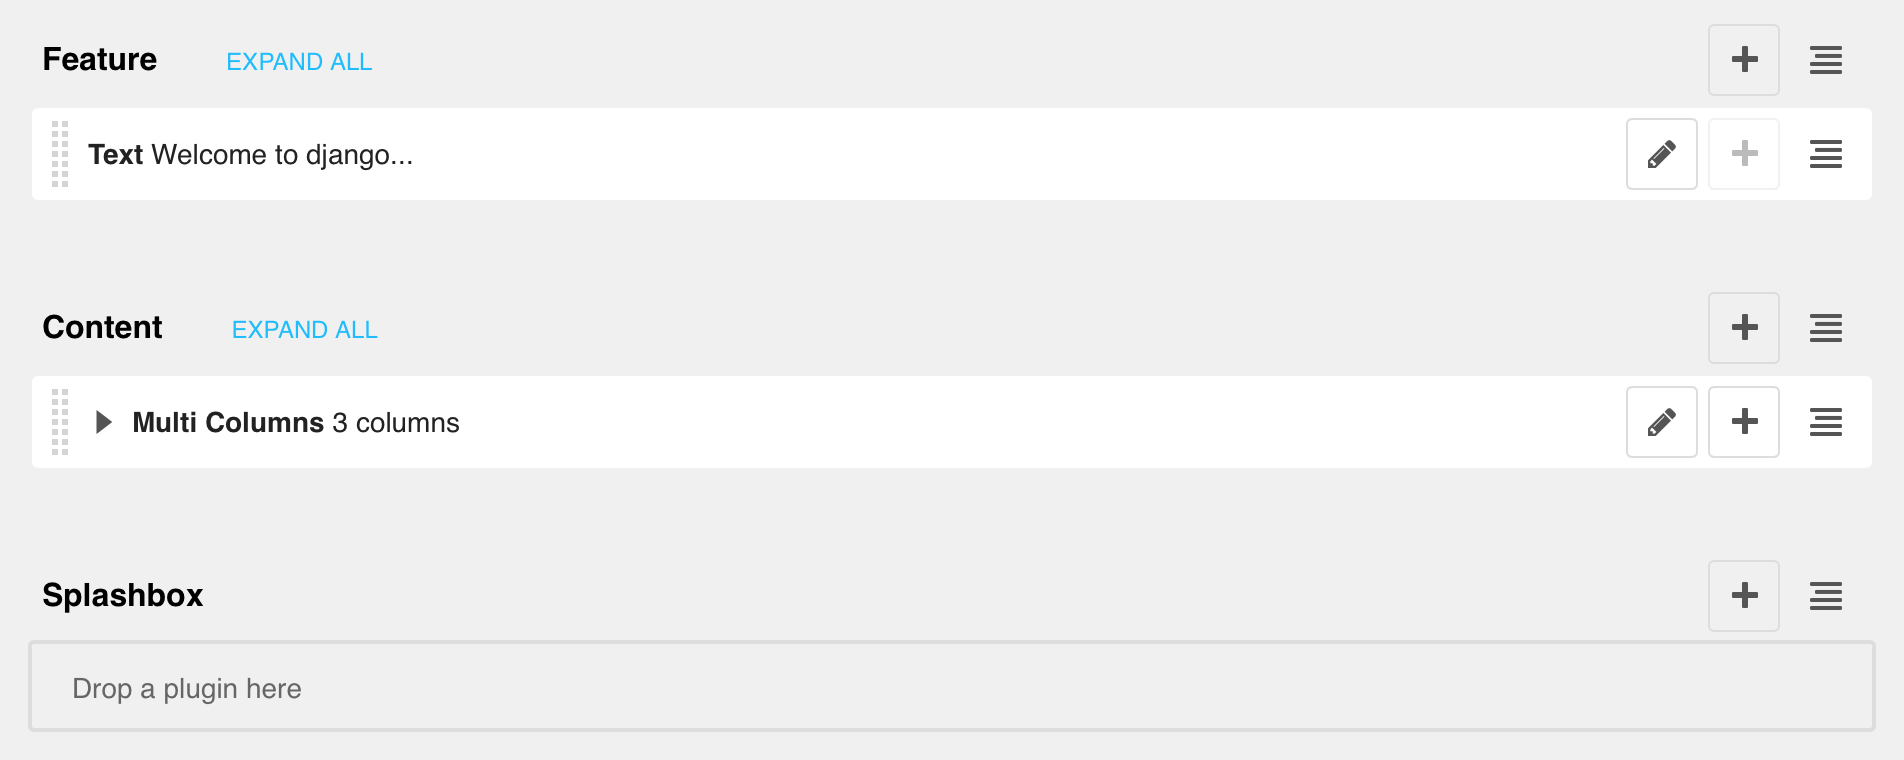
Add a couple of new placeholders to fullwidth.html, {% placeholder "feature" %} and {%
placeholder "splashbox" %} inside the {% block content %} section. For example:
{% block content %}
{% placeholder "feature" %}
{% placeholder "content" %}
{%
placeholder "splashbox" %}
{% endblock content %}
If you switch to Structure mode (button in the upper-right corner of the page), you’ll see the new placeholders available for use.
Static Aliases#
The content of the placeholders we’ve encountered so far is different for every page. Sometimes though you’ll want to have a section on your website which should be the same on every single page, such as a footer block.
You could hard-code your footer into the template, but it would be nicer to be able to manage it through the CMS. This is what static aliases are for. You need to install the django CMS alias package to use static aliases:
pip install djangocms-alias
Do not forget to add djangocms_alias to your INSTALLED_APPS in settings.py.
Static aliases are an easy way to display the same content on multiple locations on your website. Static placeholders act almost like normal placeholders, except for the fact that once a static placeholder is created and you added content to it, it will be saved globally. Even when you remove the static placeholders from a template, you can reuse them later.
So let’s add a footer to all our pages. Since we want our footer on every single page, we should add it to our base template (mysite/templates/base.html). Place it near the end of the HTML <body> element:
     {% load djangocms_alias_tags %}

     <footer>
       {% static_alias 'footer' %}
     </footer>


     {% render_block "js" %}
 </body>
Save the template and return to your browser. Refresh any page in Structure mode, then go to the “Aliases..” entry in the site menu and you’ll see the new static alias listed in its category “Static alias”.

Note
Like editing of pages and aliases publishing is independent.
If you add some content to the new static placeholder in the usual way, you’ll see that it appears on your site’s other pages too.