Installing django CMS
We’ll get started by setting up our environment.
Requirements
django CMS requires Django 1.8, 1.9 or 1.10 and Python 2.7, 3.3 or 3.4.
Your working environment
We’re going to assume that you have a reasonably recent version of virtualenv installed and that you have some basic familiarity with it.
Create and activate a virtual env
virtualenv env
source env/bin/activate
Note that if you’re using Windows, to activate the virtualenv you’ll need:
env\Scripts\activate
Update pip
pip is the Python installer. Make sure yours is up-to-date, as earlier versions can be less reliable:
pip install --upgrade pip
Use the django CMS installer
The django CMS installer is a helpful script that takes care of setting up a new project.
Install it:
pip install djangocms-installer
This provides you with a new command, djangocms.
Create a new directory to work in, and cd into it:
mkdir tutorial-project
cd tutorial-project
Run it to create a new Django project called mysite:
djangocms -f -p . mysite
This means:
- run the django CMS installer
- install Django Filer too (
-f) - required for this tutorial - use the current directory as the parent of the new project directory (
-p .) - call the new project directory
mysite
Note
About Django Filer
Django Filer, a useful application for managing files and processing images. Although it’s not required for django CMS itself, a vast number of django CMS addons use it, and nearly all django CMS projects have it installed. If you know you won’t need it, omit the flag. See the django CMS installer documentation for more information.
Warning
djangocms-installer expects directory . to be empty at this stage, and will check for this,
and will warn if it’s not. You can get it to skip the check and go ahead anyway using the -s
flag; note that this may overwrite existing files.
Windows users may need to do a little extra to make sure Python files are associated correctly if that doesn’t work right away:
assoc .py=Python.file
ftype Python.File="C:\Users\Username\workspace\demo\env\Scripts\python.exe" "%1" %*
By default, the installer runs in Batch mode, and sets up your new project with some default values.
Later, you may wish to manage some of these yourself, in which case you need to run it in Wizard mode. The default in Batch mode is to set
up an English-only project, which will be sufficient for the purposes of this tutorial. You can of course simply edit
the new project’s settings.py file at any time to change or add site languages or amend other settings.
The installer creates an admin user for you, with username/password admin/admin.
Start up the runserver
python manage.py runserver
Open http://localhost:8000/ in your browser, where you should be presented with your brand new django CMS homepage.
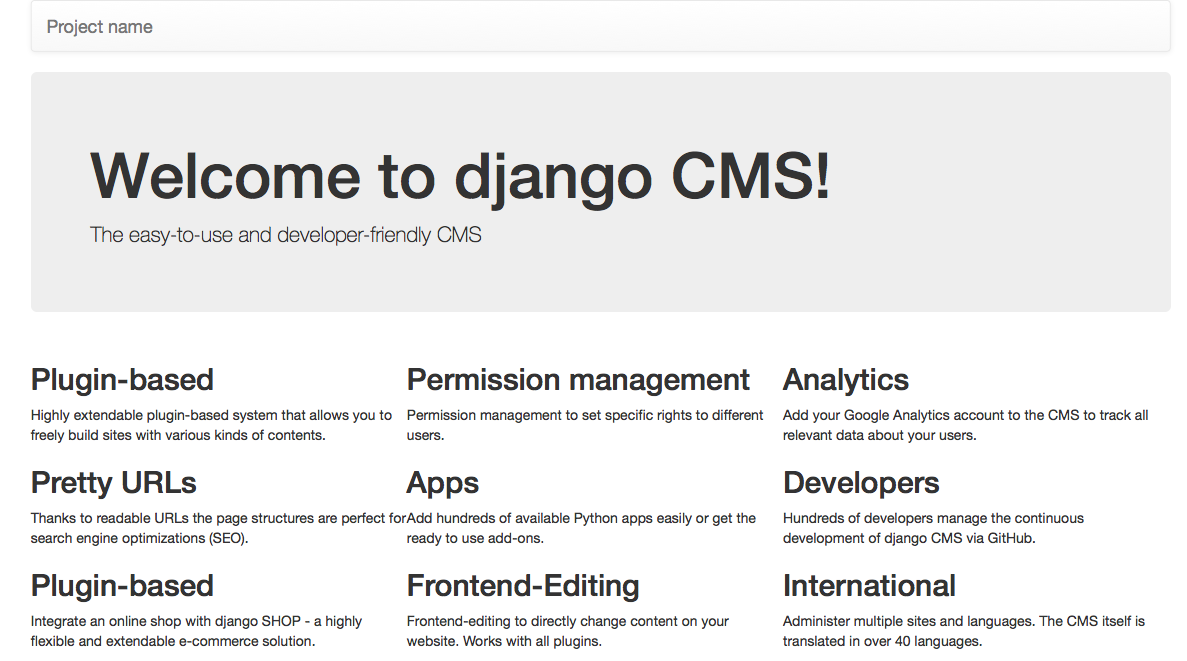
Congratulations, you now have installed a fully functional CMS.
To log in, append ?edit to the URL and hit enter. This will enable the
toolbar, from where you can log in and manage your website.
If you are not already familiar with django CMS, take a few minutes to run through the basics of the django CMS tutorial for users.